Dried Plum + Millet Tabbouleh


IMG_7841


Disclosure:  I received free samples of California Dried Plums mentioned in this post. By posting this recipe I am entering a recipe contest sponsored by California Dried Plum Board and am eligible to win prizes associated with the contest. I was not compensated for my time. 


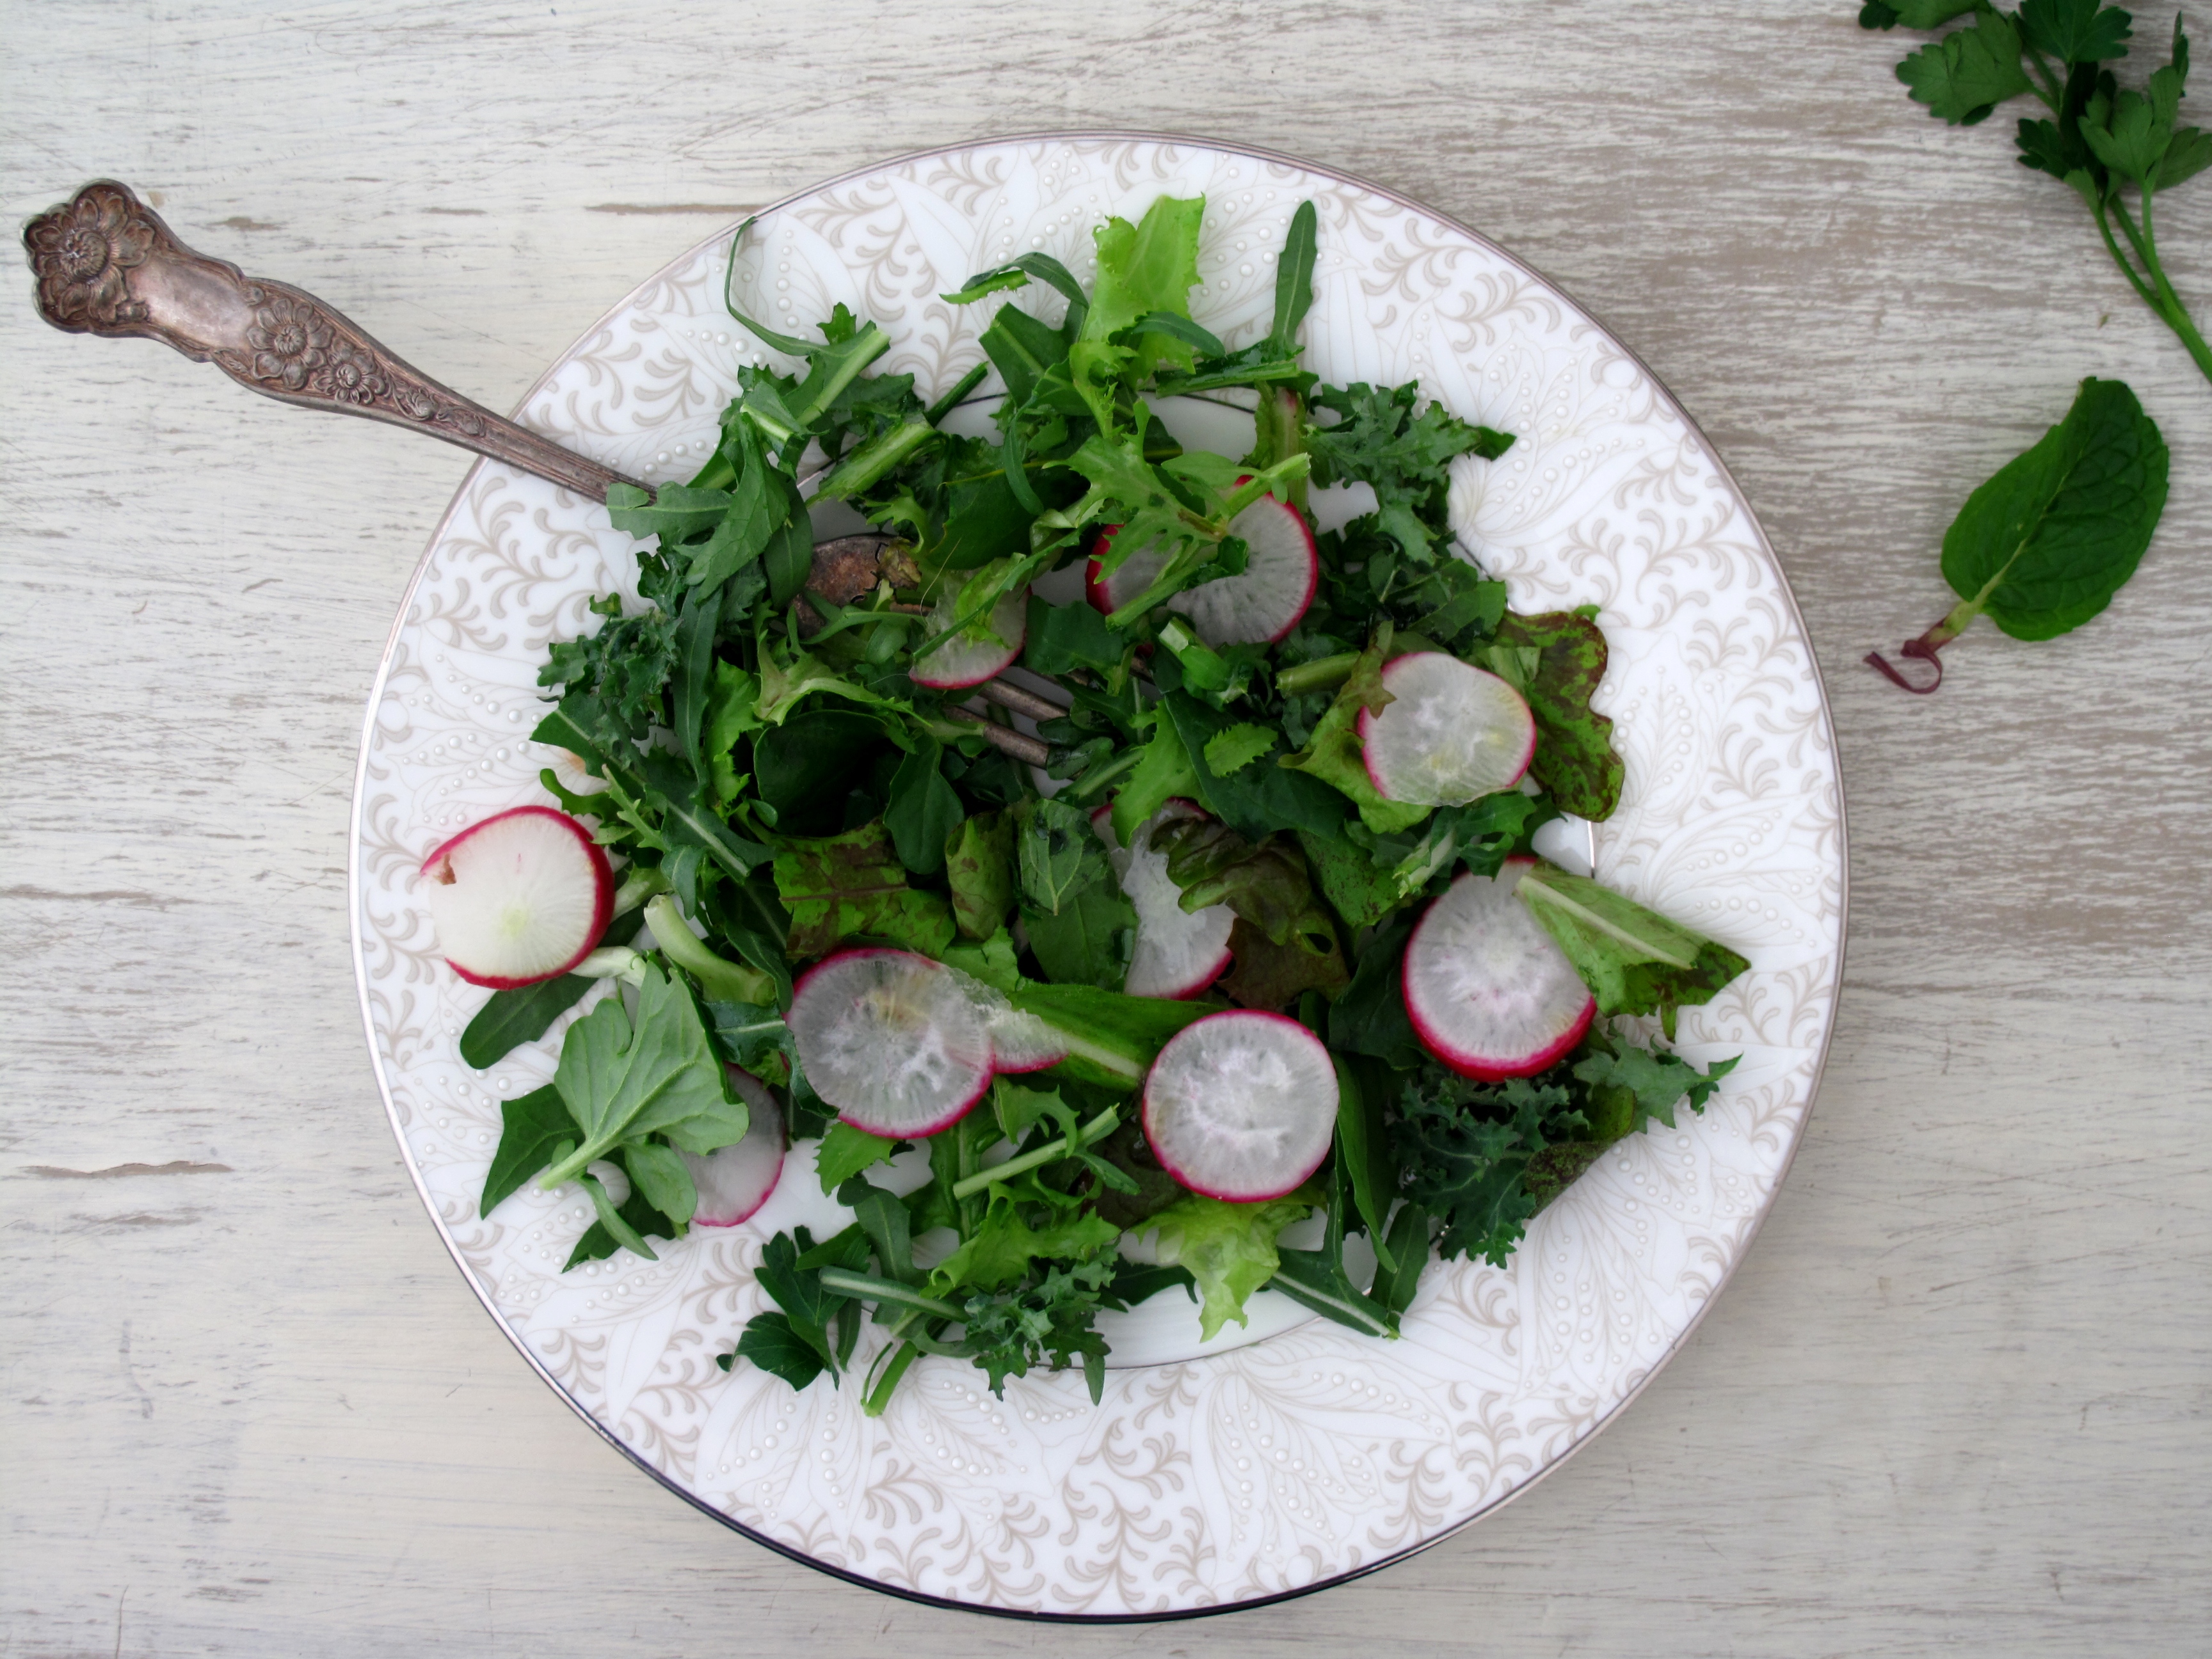
For me, the spring season means a whole host of grain salads. I tend to eat gluten-free whole grains like millet, brown or black rice, quinoa and buckwheat as the center of many meals year-round, but in the spring, fresh, raw greens and herbs start to take more of the center stage. Inevitably, I end up adding sweet things into these meals, often in the way of fresh or dried fruits.


IMG_7822


May happens to be National Osteoporosis Month, and the California Dried Plum Board is hosting a No Bones About It Recipe Redux challenge. As a child with first a dairy allergy and then an extreme dislike for the taste of milk, I was often prompted to drink milk to prevent osteoporosis later in life. Interestingly, it wasn’t until last year that I learned about the many other vitamins and minerals that are also important to bone health like phosphorus, magnesium, and vitamins K and D.


Dried plums are one of the foods that can help support healthy bones. Emerging research shows that eating dried plums may have positive effects on bone health. Previous studies discovered that eating 100 grams (two servings; about 8- 10 dried plums) of dried plums for one year was associated with increased bone mineral density (BMD) and improved indices of bone turnover in postmenopausal women. At Experimental Biology, March 28- April 1, 2015, a current study presented as a poster, examined whether 50 grams (one serving; about 4-5 dried plums) would be as effective as the larger dose. The results indicated that one serving of dried plums may be as effective in preventing bone loss in older, osteopenic postmenopausal women. There are also natural elements in dried plums which help heighten the flavors of other ingredients in a recipe. They can be used as a flavor enhancer, both in savory and sweet dishes.


My grandparents must have had a plum tree because for years, every time they visited, they brought us bags of dried plums. My parents still have a ton of dried plums in their freezer and whenever I visit, I take a package or two, as I love experimenting with less-used ingredients and flavors.


IMG_7843


This salad hosts both dried plums and a whole bevy of nutrients essential to bone health. More importantly, with flavors inspired by middle eastern cuisine, it tastes delicious.


IMG_7825


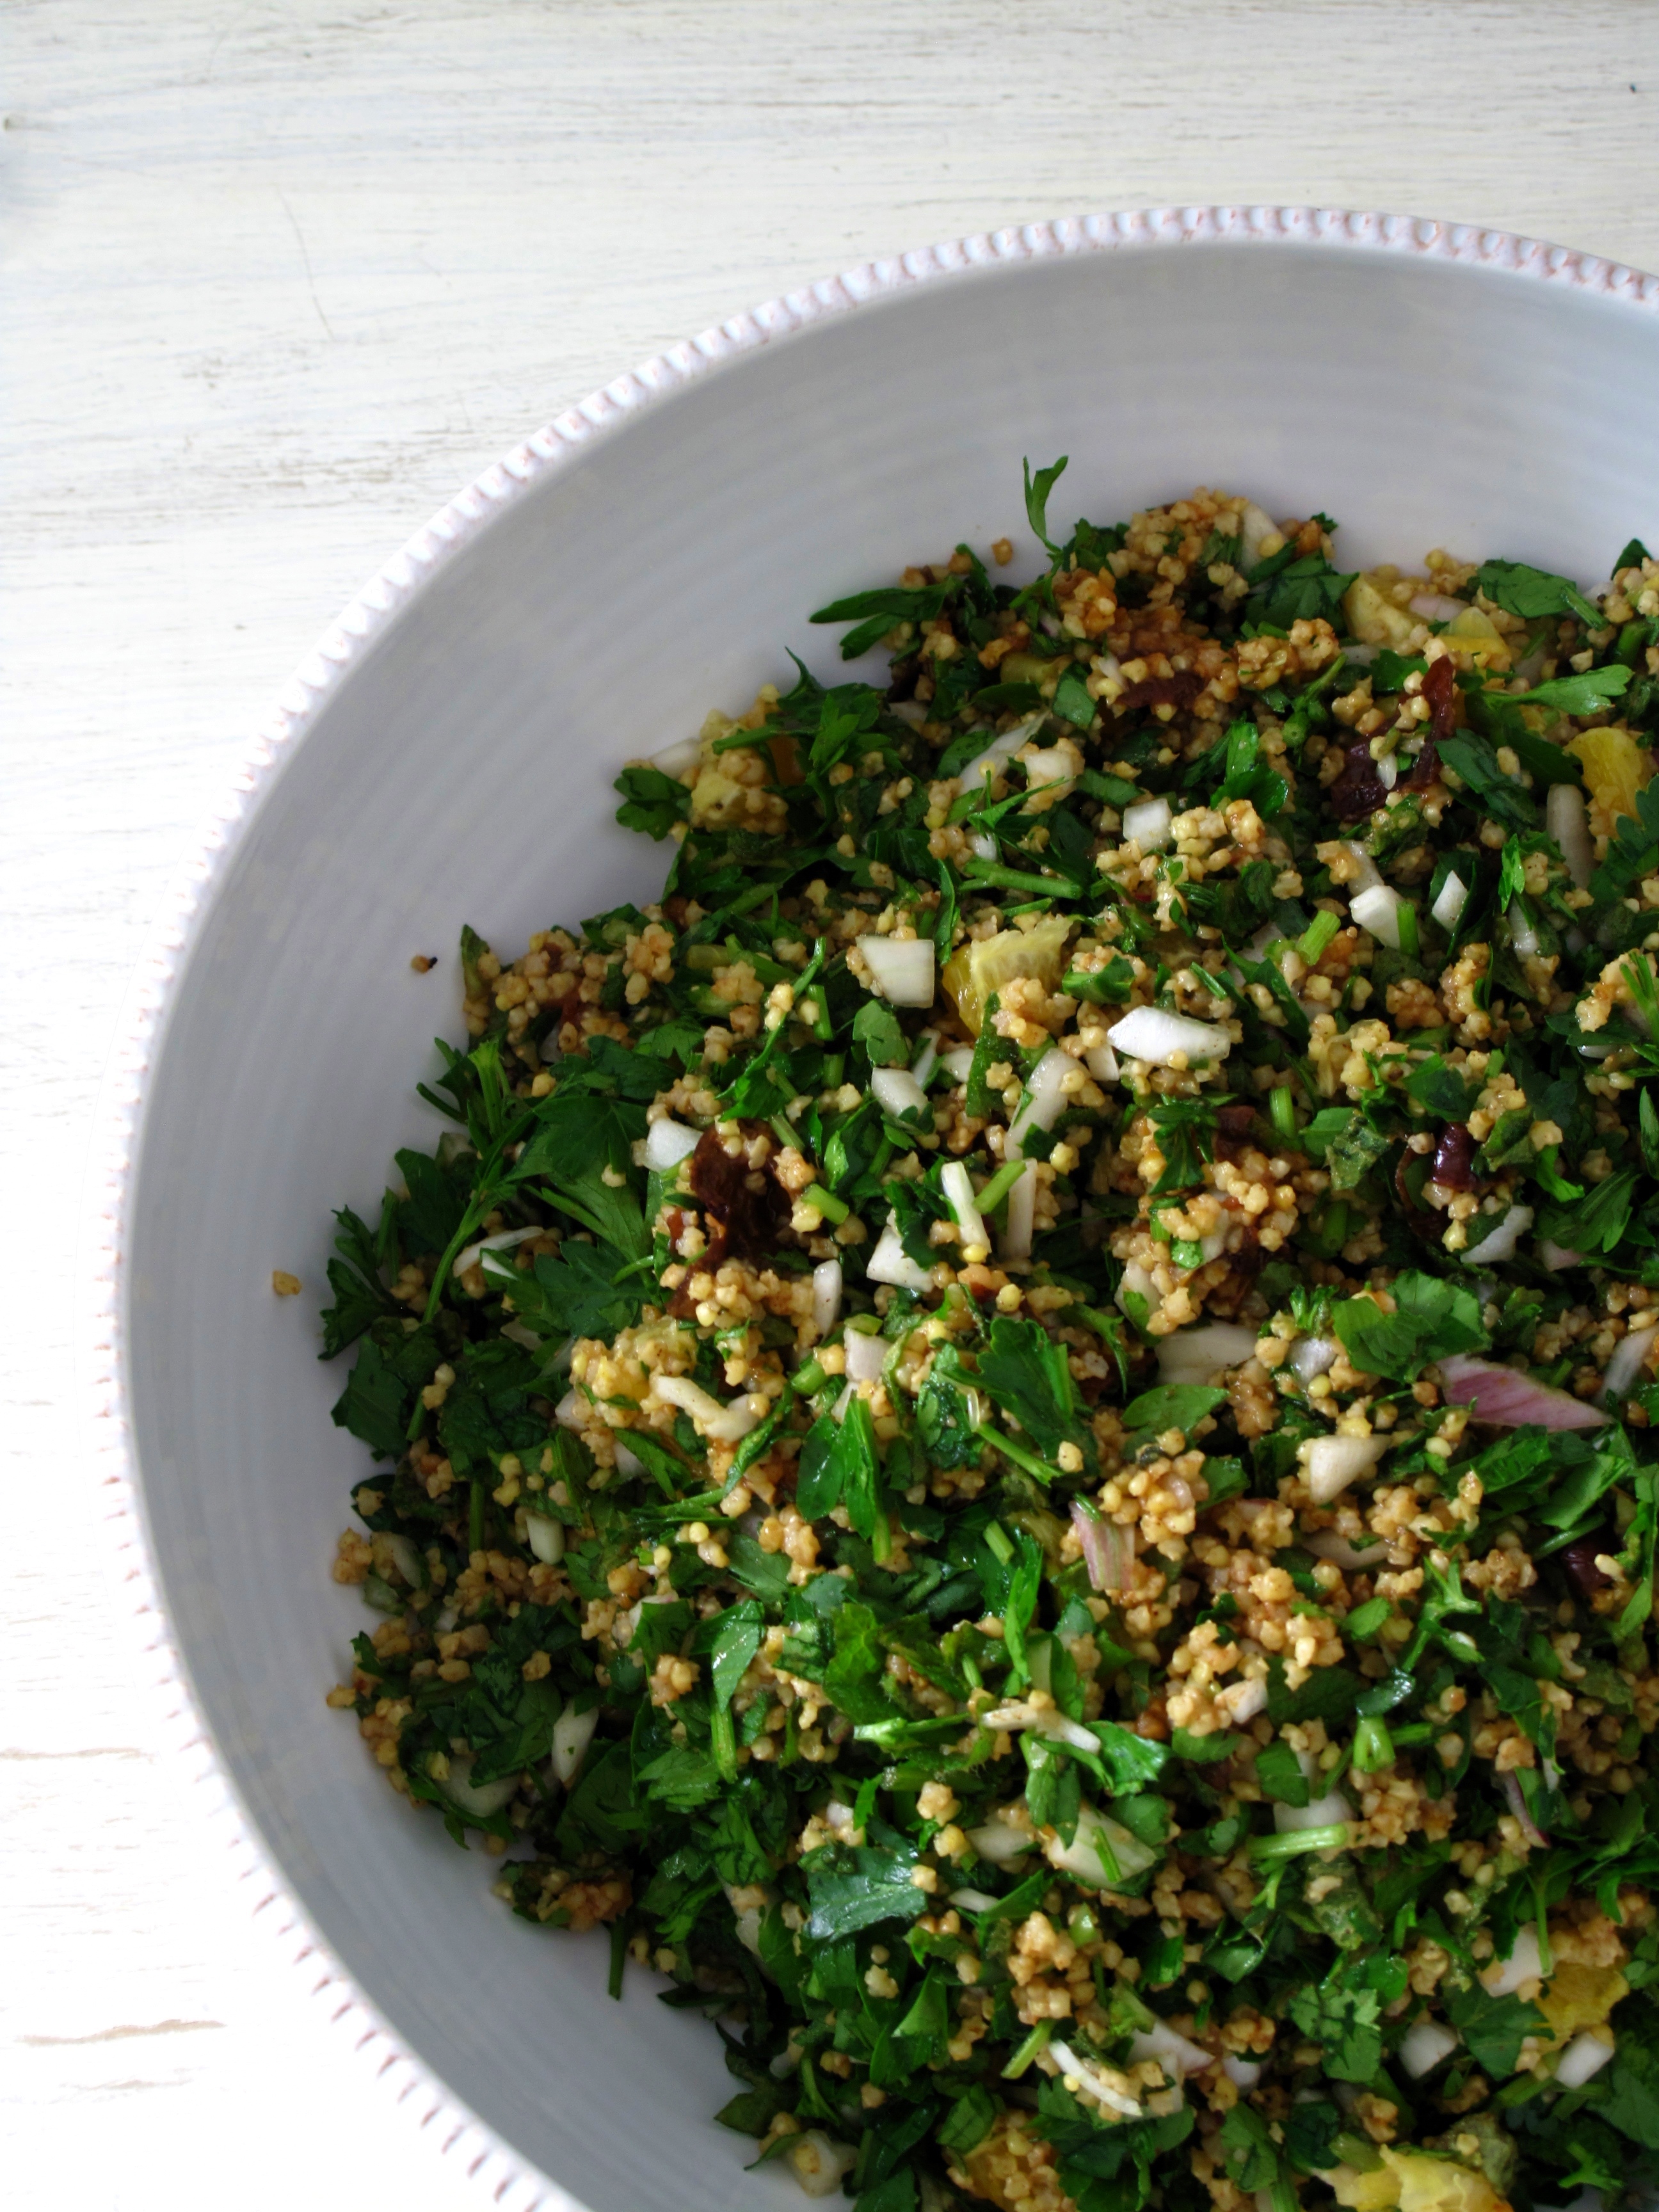
It’s definitely making its way to the top of my favorite spring grain salads.


IMG_7816


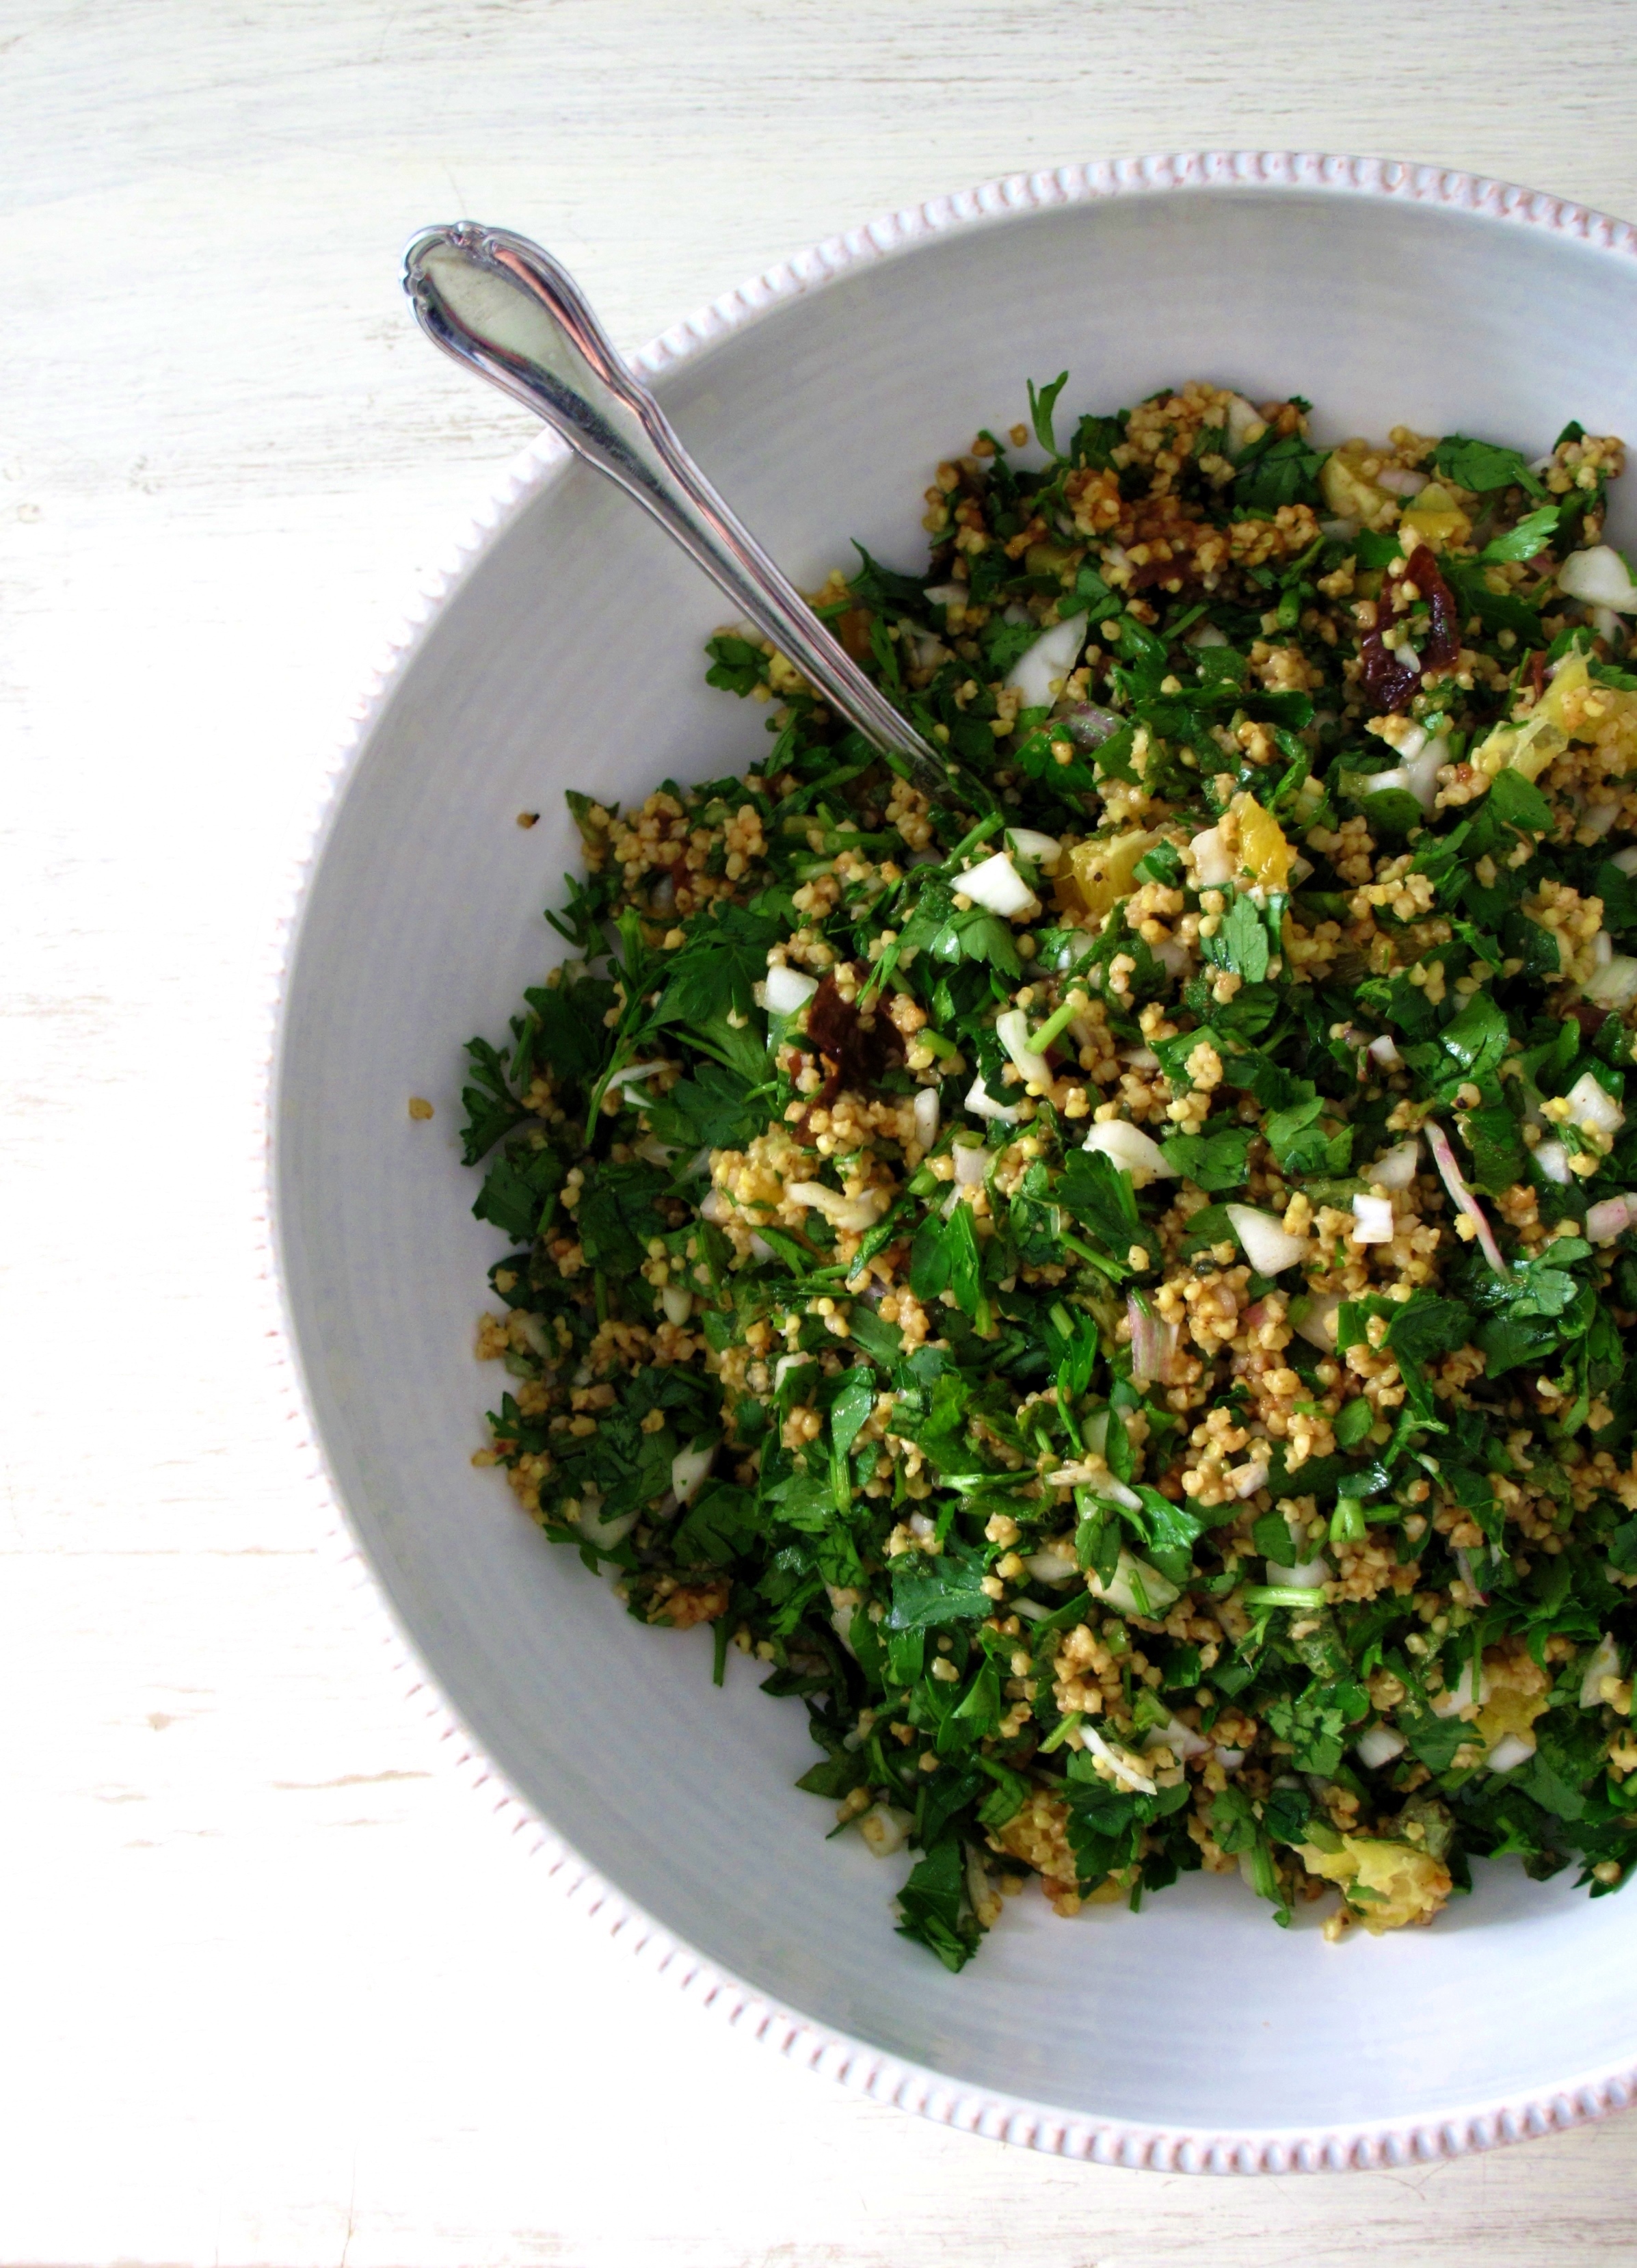
Dried Plum + Millet Tabbouleh, serves 4-6

3/4 cup dry millet

1 1/2 cups water

3/4 cup dried plums, diced

2 large bunches parsley, finely diced

1/2 large bunch mint, finely diced

1 small red onion, finely diced

2 Tbs. apple cider vinegar

1/2 tsp. ground cinnamon

1/4 tsp. allspice

1/2 tsp. salt

black pepper to taste

1 orange, finely diced (optional, but not at all necessary)

  • In a medium saucepan, add dry millet, water, diced dried plums, and a pinch of salt. Bring to a boil, then turn down to low heat, and cover. Cook for 20 minutes, and then remove from heat and set aside to cool to room temperature.
  • Meanwhile, dice the herbs and onion and add them to a large serving bowl.
  • Toss the millet and plum mixture with the vegetables and stir in the spices and vinegar. Adjust the seasonings to taste and then serve at room temperature.

Black Bean + Corn Chilaquiles

IMG_7810

I grew up in a town where purchasing tamales from a random kid selling them out of the family car in the Walmart parking lot was a completely normal and legit means of acquiring them. Growing up, there were more Mexican restaurants than I could count, at least two full-size Hispanic grocery stores, multiple panaderías, a carnicería, and many other specialty stores. Suffice it to say, I grew up eating a lot of amazing Mexican food and it’s this type of food that I associate with home.

My favorite place to eat when back for a visit is at the taco wagon. There are actually several, but there is one that everyone knows about when a trip to the taco-wagon is mentioned. It is a slightly sketchy-looking truck that sells the exact same thing at the same price as what I began purchasing 10+ years ago in high school. It’s a place where there’s always a wait, and all the locals can be found, from the hispanics to the farmers to the visitors back in town for a couple days to the locals that never left.

IMG_7783

Tacos are our ultimate fall-back food for busy days and we eat them in all sorts of variations. I won’t even attempt to make a taco that tries to compete with a taco-wagon taco, however, and all the thrown together versions we eat are hardly worthy of a recipe. So when The Recipe Redux challenged us to take a good look into the freezer, cupboards, and pantry and find an ingredient or two that had been forgotten for this month’s challenge, I took a good look at all the ingredients that needed to be used, naturally skipped over the fish sauce and wasabi, and gravitated right towards the makings for Mexican-food.

IMG_7782

William bought me a giant bag of tortilla chips last summer when I was running a lot and craving salt. They’ve been hanging around the back of the pantry since then because I forgot about them when the weather turned last fall and I never got back to them. They’ve since turned slightly stale.

They were perfectly in need for being made into a dish I’ve been meaning to make for months, Chilaquiles. Oddly enough, I did not grow up eating Chilaquiles. It wasn’t until a couple years ago that I had even heard of them. Basically, they are a way to use up stale corn tortillas and are cooked in a sauce with meats or vegetables, or scrambled with eggs. Most variations contain eggs, cheese, and/or chicken. I decided to forego all of those ingredients because I wanted a super tasty meal that can be made with only a few pantry staples, quickly.

IMG_7773

This variation fits the bill because it contains several ingredients already on hand: frozen corn, diced tomatoes, tortilla chips, black beans, and a dried poblano pepper.

IMG_7809

Black Bean + Corn Chilaquiles, serves 4-5

These can be made even easier by using canned black beans and enchilada sauce, but you will compromise flavor. I tend to make big batches of black beans using this simple recipe. I tossed the poblano pepper into the pot, adding even more rich undertones, and slow-cooked it for the better part of a day. It sounds slightly time-consuming but we eat them for multiple meals quite often because they’re super good! 

1 medium onion, diced

1 bunch of kale, stems removed and chopped

2+ cups tortilla chips

2 cups cooked black beans

2 cups frozen corn

1 batch of spicy tomato sauce, below

cilantro, to serve

lime wedges, to serve

salsa, to serve

  • Preheat oven to 375 degrees F.
  • In a medium sauté pan, cook onion until slightly soft, about 5-8 minutes. Toss in the kale and cook just until it wilts. Remove from heat.
  • In a large mixing bowl, toss together the chips, beans, corn, sauce, and cooked onion and kale. Use your hands and mix gently so as not to break the chips too much.
  • Turn the whole lot into a medium-sized baking dish.
  • Bake for 20-25 minutes, until the mixture is heated through and simmering.
  • Remove from the oven and serve with cilantro, lime wedges, and salsa.

Spicy Tomato Sauce

1 28-oz. can diced tomatoes

2 Tbs. extra virgin olive oil

3 cloves garlic, minced

1 Tbs. chili powder

1 tsp. garlic salt

1/4 tsp. onion powder

1/4 tsp. red pepper flakes

1/4 tsp. dried oregano

1/4 tsp. dried coriander

1/2 tsp. paprika

1 1/2 tsp. ground cumin

1 tsp. black pepper

  • In a medium saucepan, heat olive oil and garlic over medium-high heat. Saute garlic until just beginning to brown, about 30 seconds.
  • Stir in the tomatoes and spices.
  • Bring to a boil and then turn down to medium-low. Simmer for about 45 minutes to thicken a bit and have flavors develop. Remove from heat and allow to cool slightly. At this point, the sauce can be pureed if you’d like a smooth sauce, but I opted to leave it slightly chunky.

Spring Greens + Honey-Grapefruit Vinaigrette, Two Ways

IMG_7577
Kitchen accidents happen. With me, they happen in epic proportions that I wish were captured in slow motion so I could play them back later when in need of a good laugh. I’m talking explosions. All the walls and surfaces and ceilings.

A few weeks ago in a moment of hunger, I popped an egg, broken into a little glass dish, into the microwave. I covered it and carefully checked every 15-20 seconds, as I know how egg-microwaving can quickly turn risky. It was all fine and well until I took the bowl out, carefully uncovered it, and leaned in close to make sure the egg was cooked through. At that exact moment, the egg belched out, blowing apart with all the noise and momentum of a volatile volcano.

I took a step back and blinked, looking around me in shock. Someone made a move in the apartment upstairs as if to look for a window. Or an escape route. No, I silently told my neighbor, you haven’t been attacked. It’s just me, standing in a kitchen on a Saturday afternoon covered in exploded egg.

IMG_7596
Egg in my eyelashes, my hair, in every corner of exposed skin. Thankfully I have the circulatory system of a skinny grandma and wear sweaters year round or I would have needed more than a change of clothes.

Egg on the ceiling. Egg on the living room carpet. Egg on every wall and surface in between.

After clean-up, I wasn’t about to try again. I’m officially cured of microwave-egg-cooking, I thought as I miserably ate the swollen, (seriously-how’d-it-get-overcooked?) half that was left in the dish. And I haven’t had another since.

IMG_7580
Weeks before the egg episode, I was in a similarly messy situation, thinking the exact same thing. I needed red wine for a recipe and in the exact moment of needing to add it to the recipe, I recalled that I had broken our bottle opener and our wine drinking had gotten so lax that it hadn’t been replaced. Recklessly bent on quick results and praying things would turn out right, I squeezed my eyes shut and violently stabbed a knife into the cork.

IMG_7581
Things didn’t turn out right.

Red wine, like the egg, exploded over the entire kitchen. The white walls and white cabinets looked like a three-year-old went to town with a red watercolor and designed something only a kid could qualify as art. I scrubbed until I nearly painted instead. By the end of clean-up, I really needed a glass or two. If only it wasn’t all over me.

IMG_7586
Through other episodes over the years, I’ve acquired scars that I can barely remember the occasion for, save they involved being too confident with hot surfaces or knives slicing through the air to land dangerously close to little toes.

I’m only now recovering from the last kitchen accident, which involved the vegetable peeler, my pinky, a whole box of band-aids, and a lot of blood.

Thankfully, there were no limbs burnt or bruised, no toes carved in the process of creating this post. Instead, the March Recipe Redux theme is Two for One: cooking once and eating twice or ReDuxing leftovers into a new dish. William and I cannot seem to get through a whole bottle of wine these days before it starts to taste off, even when we have dinner guests. Instead of volcanizing it all over the kitchen walls and ceilings, I decided to share how I repurpose wine into vinegar instead.

IMG_7612
First let me say I really love vinegar. I’m one of those people that can go to the oil and vinegar shops and happily forego the oil and bread, and just slurp the different flavored vinegars.

Making vinegar is quite simple. The word itself actually means “sour wine” in French, and when any liquid with less than 18 percent alcohol is exposed to air, the vinegar-producing bacteria will attack it and gradually turn it sour. It simply takes time.

To make vinegar from wine, I often leave the leftovers sitting out on the counter with the cork off. It’s ready when it tastes like vinegar instead of wine, in about two months. Recently however, I’ve done more research and found that if a vinegar mother–the starter used for vinegars–is used, the process is sped up and the vinegar is more consistent in its taste. We have a local brewing supply store–because seriously, Oregon–and they are currently growing a new mother for me. In the meantime, I’m making vinegar the same old way, with patience.

IMG_7606
I tend to splash together vinaigrettes depending on my mood but am sharing two different grapefruit vinaigrettes that use white wine vinegar. These two recipes more or less form the backbone for my vinaigrettes on any given day. Because I like vinegar so much, I tend to go for a one to one ratio of vinegar to oil, which is significantly higher than the standard one to three ratio.

In these recipes, I opted for grapefruit juice in addition to the white wine vinegar and often use other citrus juices like orange or lemon when I’m feeling fancy. Pick one to try and toss together with simple spring greens, herbs, and thin radish or carrot slices. Salad will feel extra special and delicious!

IMG_7598

Grapefruit-Tahini Vinaigrette

2 Tbs. white wine vinegar

2 Tbs. fresh grapefruit juice

1-2 tsp. grapefruit zest

1/4 cup extra virgin olive oil

2 Tbs. tahini

1 Tbs. honey

splash of water

salt and pepper

IMG_7601


Honey-Mustard Grapefruit Vinaigrette

3 Tbs. white wine vinegar

3 Tbs. fresh grapefruit juice

1-2 tsp. grapefruit zest

2 tsp. wholegrain mustard

1/3 cup extra virgin olive oil

1 Tbs. honey

splash of water

salt and pepper

Directions for both vinaigrettes: Whisk all the ingredients together and drizzle over greens. The leftovers can be stored in the fridge for several weeks!