Through the Long Days of Winter–Grapefruit Yogurt Cake

IMG_4124

While I’ve spied a few crocuses and daffodils making their way from the wintry soil in my regular jaunts around the neighborhood lately, winter seems to have settled deep within my bones.  I feel a persistent chill, and I hover over my cup of tea, mostly because it is a thing of comfort–of warmth.

Perhaps it is not only the cold weather, but the feeling of isolation after moving to a new place, or the thoughtful hours of reflection I’ve pondered as this season of Lent has begun.  In these hours I feel as if spring will never come.

But things are not all as dreary as they sometimes seem.  The sun has been shining lately, through peaks in the clouds and rain, and wind.  And winter has one or two perks–A bounty of delicious citrus is to be found and I’m eating it up as if it’s going out of style–which to be fair, it is.  At least until next year.

IMG_4132

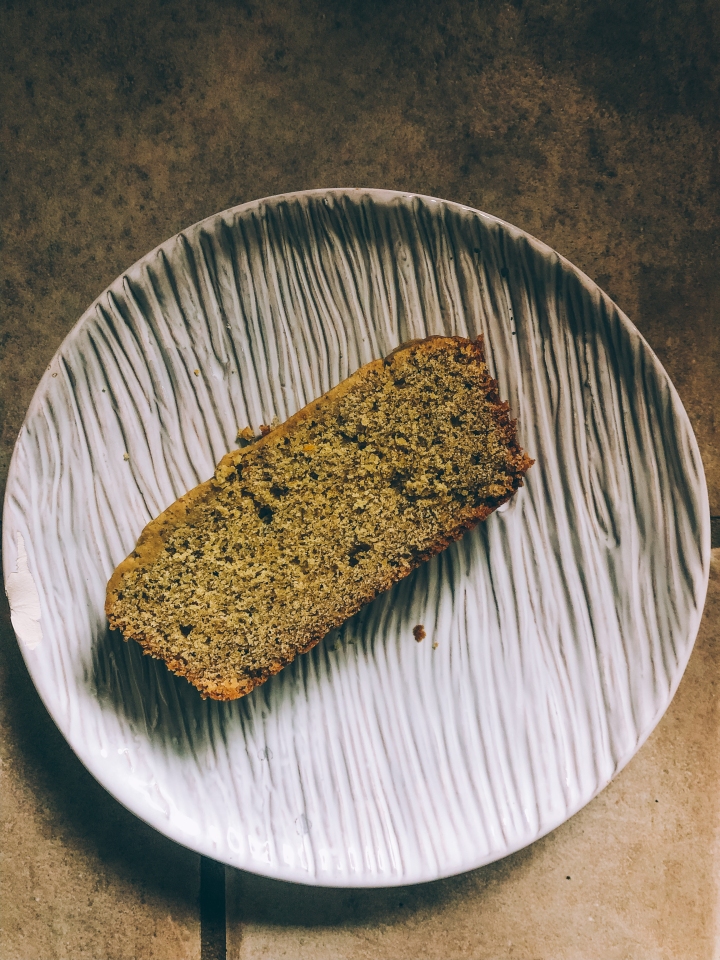
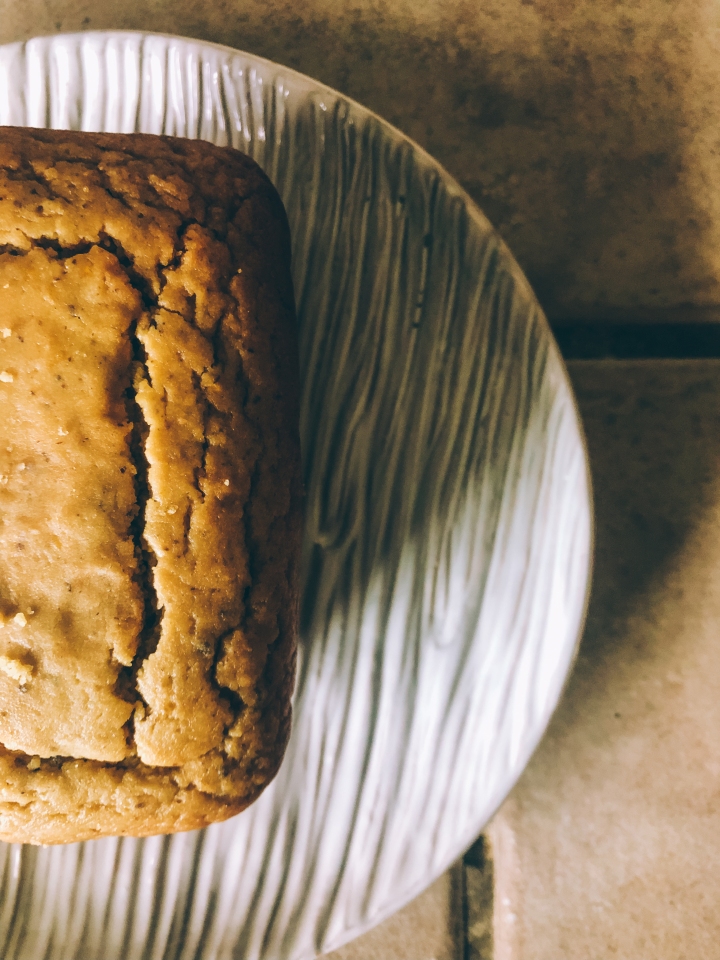
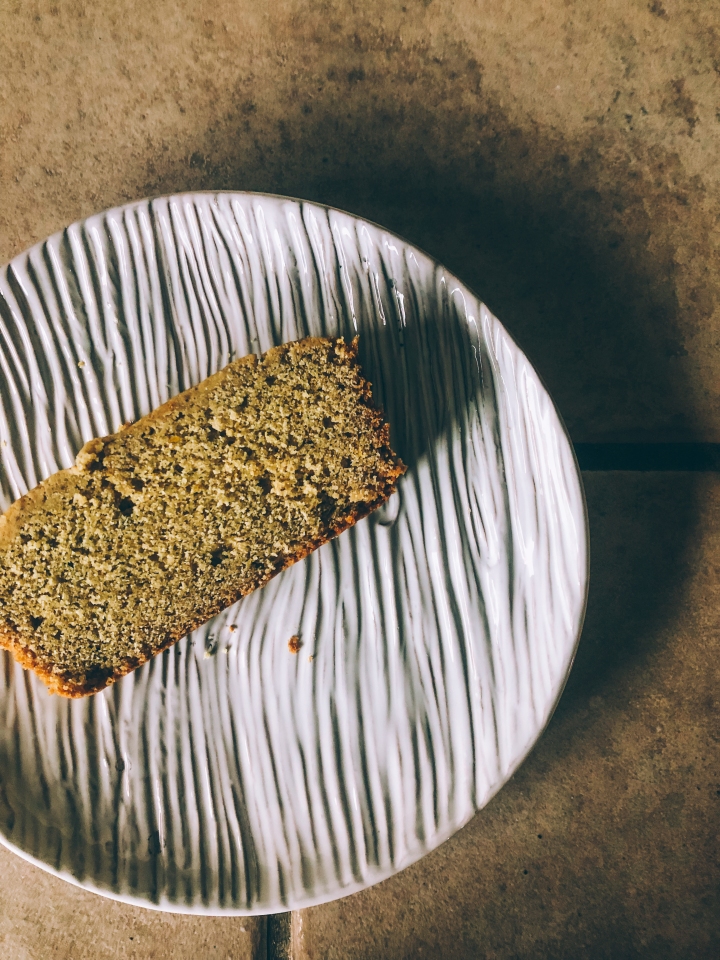
Though my go-to citrus fruits are fresh oranges, I couldn’t help but load up on the many pretty pink grapefruit each time I’ve gone to the store.  And since the Daring Bakers have asked for a quick bread/muffin this month, I decided to use up my bounty and satisfy a particular craving in designing this recipe.  For me, this is mostly a sweet reserved for the end of the day.  But since these cakes are hardly sweet–and a bit tart in that way grapefruit always is, with my favorite oaty texture–you can choose to eat them as a breakfast muffin or an afternoon snack or whenever the fancy strikes.  I experimented several times with the recipe in both a loaf cake/quick bread and a muffin form.  Bake in a loaf pan for a moister texture, and in a muffin tin for a more bready feel.

The Daring Bakers’ February 2012 host was – Lis! Lisa stepped in last minute and challenged us to create a quick bread we could call our own. She supplied us with a base recipe and shared some recipes she loves from various websites and encouraged us to build upon them and create new flavor profiles.

Give this cake a try if you’re suffering through the long days of winter as I am–with the rain pouring down against the windows, and a cup of black tea in hand.  If you’re longing for a bit of cheer and something spunky to get you through until spring shows itself again–bake your way through a grapefruit or two–cozy yourself next to the oven, and smile because we’re nearly through.

IMG_4129

Grapefruit Yogurt Cake, makes 1 9×5 or 8.5×4-inch loaf
Recipe updated: 2/26/22
Prep: 
30 minutes | Bake:  40-50 minutes | Serves: 8-10 

2 Tbs. /14 gr ground flax seeds (or 2 eggs)
6 Tbs. / 90 ml hot water (omit if using eggs)
1 cup /113 gr quinoa flour
3/4 cup / 120 gr brown rice flour
1/4 cup / 30 gr  tapioca starch
1 tsp. baking powder
1 tsp. baking soda
¼ tsp. salt
3/4 cup / 150 gr organic cane sugar
½ cup / 113 ml plain non-dairy coconut yogurt
3/4 cup / 185 ml fresh grapefruit juice
3 Tbs. / 40 gr coconut oil
zest from about 1/2-3/4 of a large grapefruit

  1. Set the oven to 180°C / 350°F. Oil and flour the bottom and sides of a 9 x 5-inch or 81/2 x 4-inch loaf pan. The smaller pan will yield taller slices. 
  2. Mix the ground flax seeds with the hot water in a small dish and set aside to form a thick slurry.
  3. In a medium bowl, whisk the flours, baking powder and soda, salt, and 1/2 cup sugar together. Set aside.
  4. In a small measuring cup mix yogurt and grapefruit juice.
  5. Beat the remaining 1/4 cup sugar and coconut oil with a whisk in a large bowl until light and fluffy. Add the flax slurry and grapefruit zest, and incorporate well. 
  6. Add half the flour mixture and half the grapefruit juice and yogurt mixture and mix until just incorporated. Add the remaining flour and liquids and mix once more until the batter just comes together.
  7. Bake until the loaf or muffins are golden brown and a toothpick inserted in the center comes out with just a few crumbs attached, about 45-50 minutes for a loaf .
  8. Cool in the pan for 10-15 minutes, then transfer to a wire rack. 
  9. Serve warm or at room temperature, or once cool, slide into the fridge for a day or two, as the flavors really develop overnight.


Mastering the Humble Scone

It’s time again to share another successful Daring Bakers challenge!  This time around Audax Artifex was our January 2012 Daring Bakers’ host.  Aud worked tirelessly to master light and fluffy scones (a/k/a biscuits) to help us create delicious and perfect batches in our own kitchens!

That’s right.  Scones in the rest of the world (as in not the U.S.) are the same thing as our biscuits.   Who would have known? (unless you’ve traveled to England, Ireland, or Australia of course.)  Well, let’s just say that during my time over in Europe, scones made a showing for quick breakfasts to-go while we were catching the morning bus to far-off places.  Usually I’d take the wholemeal versions and W would opt for the creamy white fluffs, like these.

Back in America, I’d mastered the perfect biscuit recipe yielding light and fluffy (and somewhat healthy) results.  But then gluten happened.  Or, shall I say, a reaction to gluten happened, and here I am with a challenge on hand that was more than enough challenge for the first month of the year and baking gluten-free!

I tried several recipes for scones–none of which began as gluten-free because I believe that everyone should have access to this recipe, not just those with special diets.  I did end up deciding that all of Audax’s wonderful work proved correct and she had developed (or discovered) the best basic recipe for the English scone or American biscuit that could be easily adaptable for me.  So I only tweaked my flours a bit, but left the remaining recipe the same for you to try.

Yep, I had a snack mid-shoot!

In the future, I will be creating a wholegrain version of these to satisfy my desire for texture and heft, but for now these do perfectly with a bit of rhubarb jam and a good strong cuppa.  And they will become my go-to for all those friends and fam that don’t share my desire for wholegrain!

And it was quite delicious.

Basic Scones (a.k.a. Basic Biscuits)

Serves about four.  Recipe can be doubled.

Ingredients:

1 cup (140 gm) all-purpose flour or 140 grams all-purpose gluten-free mix plus 3/4 tsp. xanthan gum

2 teaspoons (10 gm) fresh baking powder

¼ teaspoon (1½ gm) salt

2 tablespoons (30 gm) frozen grated butter

approximately ½ cup (120 ml) cold milk

Directions:

1. Preheat oven to very hot 475°F

2. Triple sift the dry ingredients into a large bowl. (If your room temperature is very hot refrigerate the sifted ingredients until cold.)

3. Rub the frozen grated butter into the dry ingredients until it resembles very coarse bread crumbs with some pea-sized pieces if you want flaky scones or until it resembles coarse beach sand if you want tender scones.

4. Add nearly all of the liquid at once into the rubbed-in flour/fat mixture and mix until it just forms a sticky dough (add the remaining liquid if needed). The wetter the dough the lighter the scones (biscuits) will be!

5. Turn the dough out onto a lightly floured board, lightly flour the top of the dough. To achieve an even homogeneous crumb to your scones knead very gently about 4 or 5 times (do not press too firmly) the dough until it is smooth. To achieve a layered effect in your scones knead very gently once (do not press too firmly) then fold and turn the kneaded dough about 3 or 4 times until the dough has formed a smooth texture. (Use a floured plastic scraper to help you knead and/or fold and turn the dough if you wish.)

6. Pat or roll out the dough into a 6 inch by 4 inch rectangle by about ¾ inch thick. Separate into four equal portions and gently form into rounds.

7. Place the rounds just touching on a baking dish if you wish to have soft-sided scones or place the rounds spaced widely apart on the baking dish if you wish to have crisp-sided scones. Lightly flour the tops.

8. Bake in the preheated very hot oven for about 10 minutes (check at 8 minutes since home ovens at these high temperatures are very unreliable) until the scones are well risen and are lightly coloured on the tops. The scones are ready when the sides are set.

9. Immediately place onto cooling rack to stop the cooking process, serve while still warm.

Sweet Potato Spread meets Date Bread

Sweet Potato Spread is a favorite fall treat.  It’s nothing like you’re thinking, I’m sure.  It reminds me of sweetly spiced pumpkin butter—gone rebel.  With its peanutty tang, nutty sweet brown rice syrup, and rebellious little chunks of sweet potato deliberately left unsmoothed.  Oh and that dash of salt.  It just likes to place mischief.  Try it spread on a hefty slab of moist date bread like I did here, or some simple morning toast.  Or if you’re feeling really rebellious slather it thick on nice slices of homemade bread, layered with thin apple pieces, a bit of sharp cheese, and some greens.  Now that’s a rebellious sweet potato butter sandwich.

As for that Date Bread, it’s a bit of a sweet delicious treat.  Moist and comforting, homey and looking like fall should–this is one date bread that’s even a bit good for you!  It is certainly a match for that delightfully rebellious little sweet potato spread.

Sweet Potato Spread
1 large orange sweet potato, peeled and chopped
2 Tbs. peanut butter
1-2 Tbs. brown rice syrup
1/8 tsp. nutmeg
1/8 tsp. cinnamon
pinch sea salt
 
Boil or roast sweet potato until it’s soft and mashable.  Mash it a bit until it’s slightly smooth but still chunky.
Stir in peanut butter, syrup, spices, and salt. Add more to taste.  If you’d like it a bit more smooth, pour into a food processor and puree a bit until it reaches the desired consistency.
 
Date Bread, adapted from Whole Living
1 1/2 cups hot water
1 cup pitted dates, chopped
1 large egg
2 Tbs. vegetable oil
1 tsp. pure vanilla extract
1 cup all-purpose flour
1 cup whole-wheat flour
1 tsp. baking soda
3/4 tsp. salt
3/4 cup brown sugar
 
Preheat oven to 35o degrees F.  Coat a 9-by-5 inch loaf pan with oil.  In a medium bowl, pour hot water over dates and let stand about 5 minutes, or until slightly softened.  Whisk in egg, oil, and vanilla.  In another bowl, stir together flours, baking soda, salt, and brown sugar.  Fold wet mixture into dry until just combined.  Pour batter into prepared pan and smooth the top with a spatula.  
Bake about 65 minutes, or until a tester comes out clean.  Let rest for 10 minutes, then turn out from pan onto cooling rack. 


As you may have noticed, the blog is in a bit of a transition right now.  Changing names, titles, addresses, etc.  Stay tuned for more to come on finer details of changes being made!